Creating a New Form
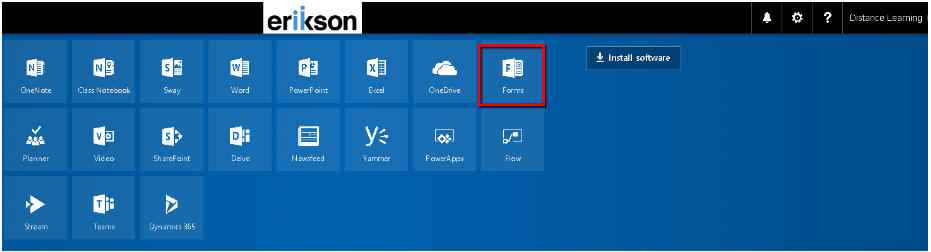
- Access Microsoft Forms either by directly accessing this link : forms.office.com Or sign into your Office 365 account (free for Erikson students and staff) and select the "Forms icon.
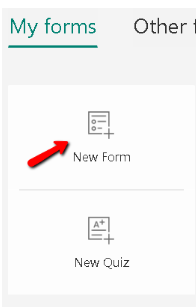
- Under My Forms, click New Form to begin creating your form.
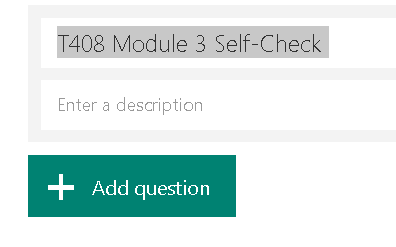
Enter a name for your form. You can also enter an optional subtitle for it. Click Add Question to add a new question to the form. You can choose to add Choice, Text, Rating, Ranking or Date questions. Your form is saved automatically as you create it.

- For Choice questions, enter the text you want to display for the question and each of the choices.
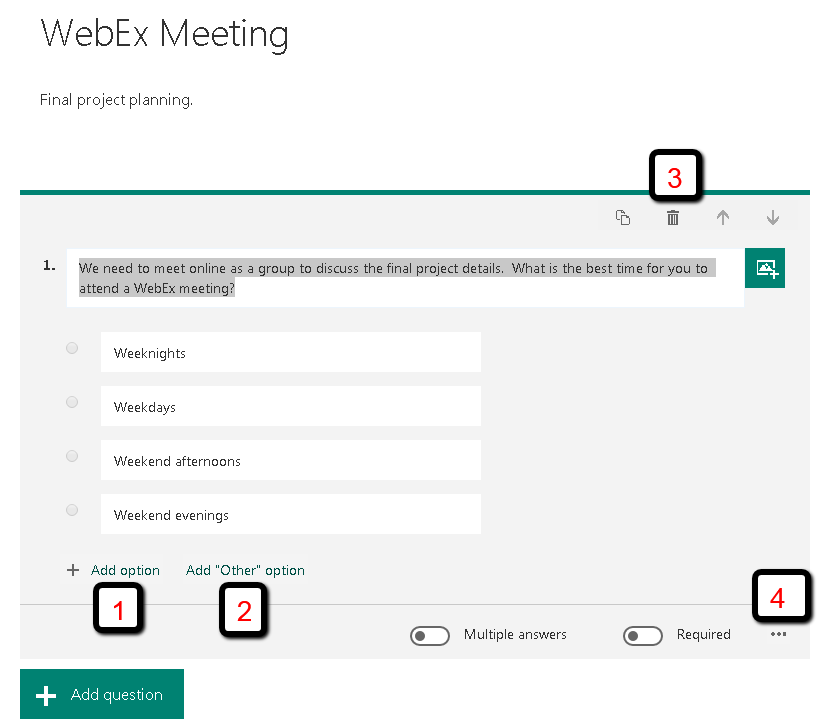
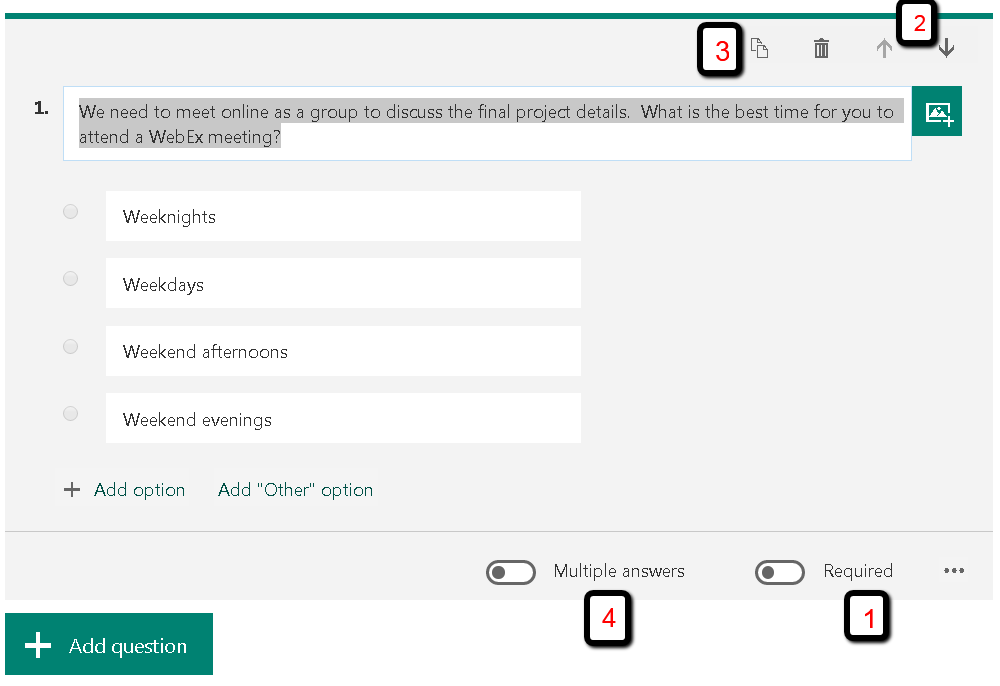
Click Add Option (1) to add more choices than the default two choices. Click Add 'Other' Option (2) to add a choice option that displays the text "Other". To remove a choice, click the trash can button (3) next to it.
You can also choose to make a question required or allow multiple choices for a question by changing the settings at the bottom of the question. To have Microsoft Forms randomly shuffle the order of the options displayed to users of the form, click the ellipses button (...) (4) and then click Shuffle options. You can also add a subtitle for a question by clicking the ellipses button (...) and then select Subtitle.
Text Questions
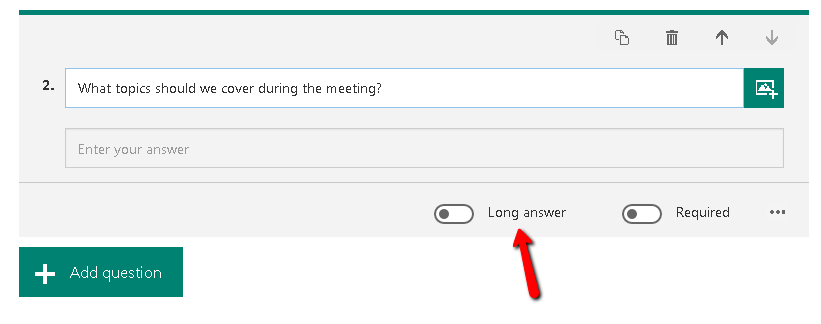
Use the Text question option to collect short (or long) text answers. Select the Long Answer option if you want a larger text box displayed on the form.
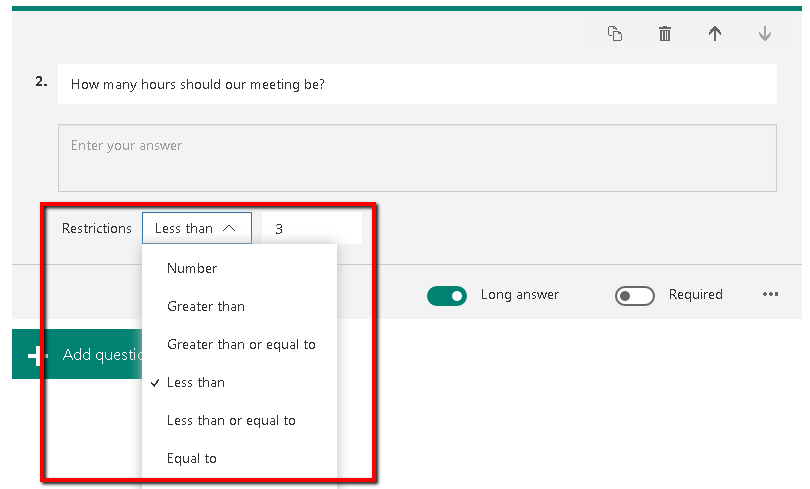
Text questions also allow you to set restrictions when you need to have numbers as the answer. Click the ellipses button (...) and then click Restrictions. You can choose to restrict the numbers by selecting from the various options such as Greater than, Less than, Between, and many others.
Rating Questions
For questions requiring a Likert scale for evaluations or class voting, use the Rating question option. This option uses either a star or numeric rating, and the ratings can either be out of 5 or 10. Click the ellipses button (...) to add labels at the end of the scale .

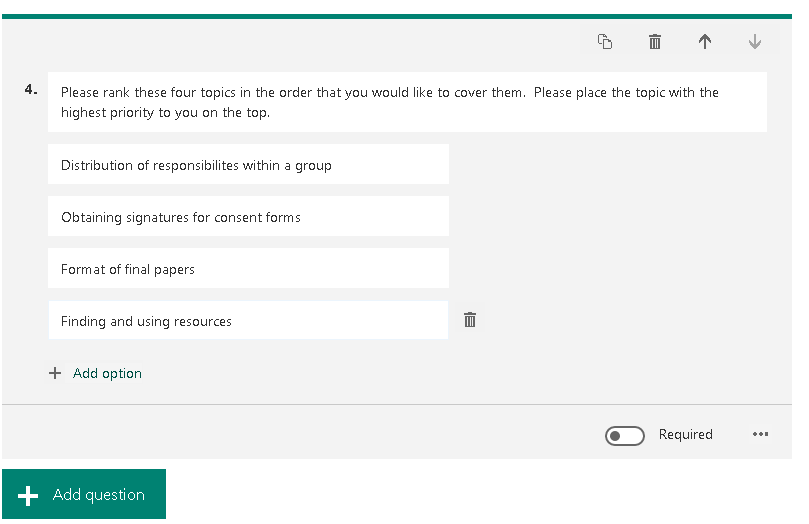
Ranking Questions
You can also ask students to rank answer choices. Ranking is a great way for you to understand your students' personal preferences by listing several options within a survey, and asking your students to rank them in their preferred sequence. You can also use ranking questions in a quiz and ask students to rearrange the items sequentially by date, size or other options.
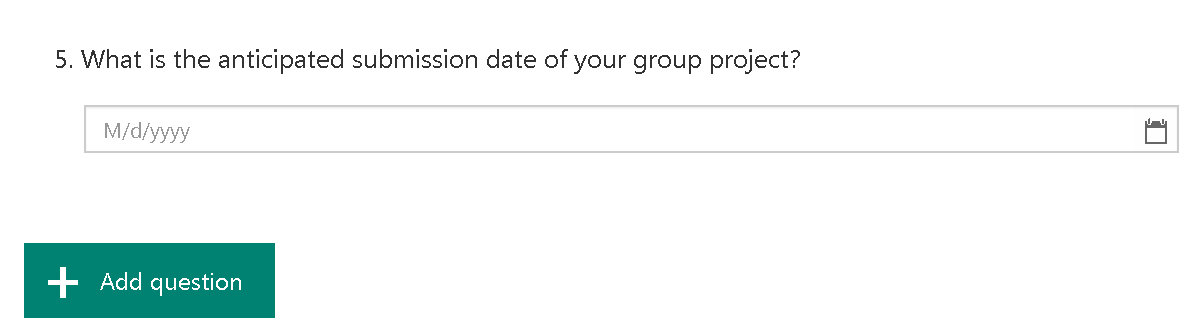
Date Questions
Date questions allows for an answer in date format.
Other Tips for creating your forms
- Any question can be marked as a required question by sliding the Answer required switch (1) to the right. This means students can�t submit the Form until they have answered all of these questions.
- You can rearrange questions by clicking on them and tapping the up and down arrows (2) to move them to the order you need.
- Create a duplicate of any question by tapping the copy icon to the left of the question order arrows. This is ideal for adding similar question types, (E.g. Q1. First name, Q2. Last name).
- Allow students to select multiple answers for Choice questions by sliding the Multiple Answers switch to the right.
- Enter a name for your quiz. You can also enter an optional subtitle for it. Your quiz is saved automatically as you create it.
- Click Add Question to add a new question to the quiz. You can choose to add Choice, Text, Rating, or Date questions. You can also choose to add a Ranking question in which options appear in random order when you share your quiz. To add a Ranking question, click the More button (...), and then select Ranking.

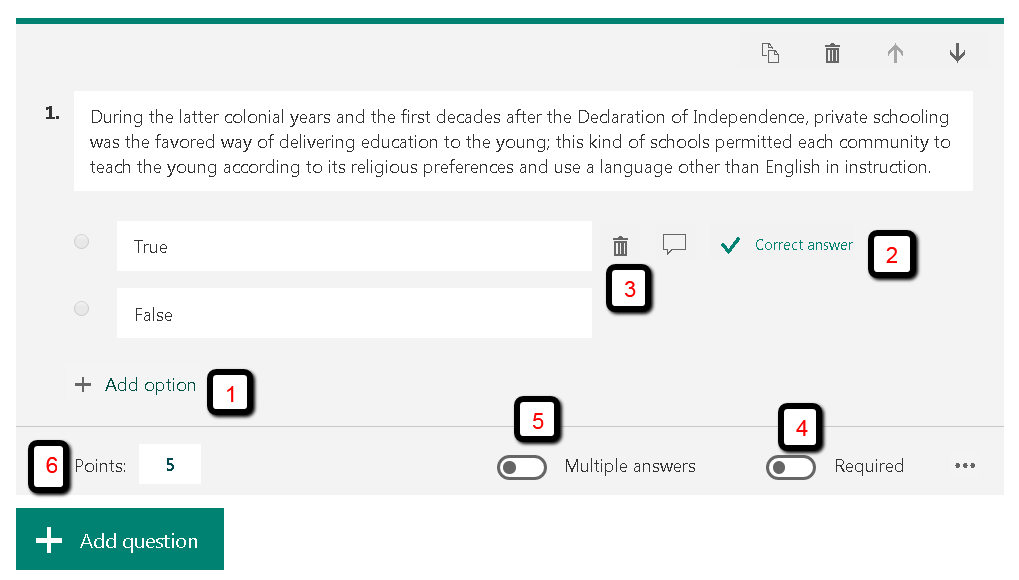
Enter the text you want to display for the question and each of the choices. Click Add Option (1) to add more choices than the default two choices. Click the Correct Answer check box button (2) next to each correct answer. To remove a choice, click the trash can button (3) next to it. You can also choose to make a question required (4) or allow multiple choices (5) for a question by changing the settings at the bottom of the question.
Enter a number in the Points text box (6) to assign a point value for a correct answer to the quiz question.
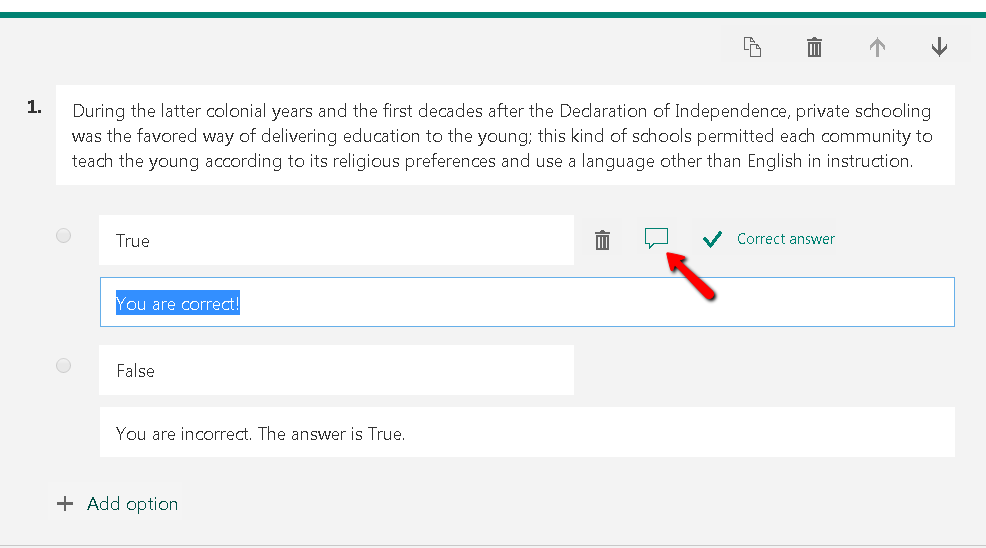
Click the Message button next to the choices if you want to display a custom message to your students who select that choice as their answer.
To display math formulas, click the ellipses button (...) and then click Math .

- Click Add Question to add more questions to your quiz. To change the order of the questions, click the Up or Down arrows on the right side of each question. For text questions, select the Long Answer option if you want a larger text box displayed on the quiz. To copy a question, select it and then click the Copy Question button in the upper right corner.
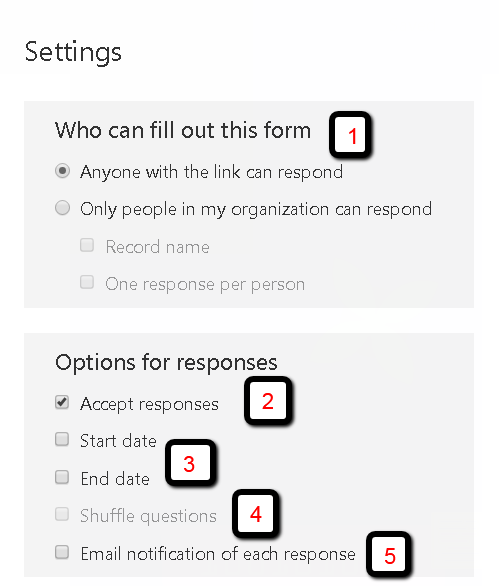
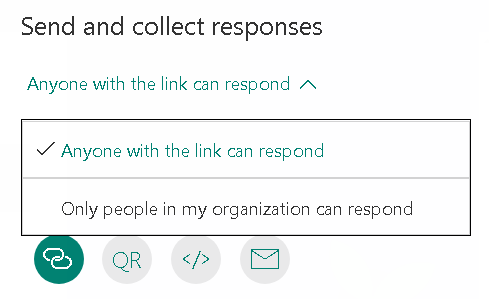
Who can fill out this form (1): When you use the default setting, Only people in my organization can respond, responders must have an Erikson Office 365 account and sign in to fill out the form. Select the option Anyone with the link can respond instead to allow anyone who has the link to fill out your quiz or form.
Two additional options are available if you choose to only allow people in your organization to fill out your form. Select Record name if you want each form response to include the name and email address of the responder. Clear this option if you want to allow anonymous responses to your quiz or form. Select One response per person if you want to limit the responses to one per person. Clear this option to allow form responders to submit more than one response to a form. The default setting is to allow multiple responses.
Accept responses (2): By clearing this setting, you can turn off the ability to collect any additional form responses. You can also customize the default message that recipients see when trying to submit their response after you turn off this setting.
Start and end dates (3): When you use these settings, you can specify an exact date and time when you want to start and stop collecting form responses. Click Start date, then click the date text box and select a date from the calendar control. Select a specific hour from the drop-down list of hour increments. Do the same for End date.
Shuffle questions (4): This setting randomly shuffles the order of the questions displayed. Each responder sees the questions in a different sequence. The default setting is to display the questions to each responder in the same order you designed the form. Click Back when you are finished adjusting your form settings.
Email notification of each response (5): This option sends you an e-mail notification each time a user submits a form or quiz.
- Quizzes have additional setting choices:
Display the correct answers after responders submit the form: When you use this setting with quiz questions, responders see the results of each question when they submit their quiz answers. Responders see green check marks next to each correct answer for the quiz questions and red message text displayed next to incorrect answers. Clear this setting if you don't want to display correct and incorrect information next to each quiz question.
Show question points to responders: When you use this setting with quiz questions, responders can see the number of points you assigned to each question when you created the quiz. Points are displayed in parentheses after the quiz question.
Microsoft Forms are not stored in OneDrive; they live on the Microsoft Forms website. Your forms are sorted by date with the most recently created forms at the top and older forms further down the page. On the Forms homepage, clicking the ellipses button on the thumbnail of a form will let you copy or delete it. No response data is copied when you duplicate a form, only the questions in the order that you built the original survey or quiz.
Creating Quizzes
The Quiz option has the same functions as Forms with added capabilities that will allow you to quickly assess student progress and get real-time feedback. You can create a quiz with questions that are required to be completed, display question hints, and even display students' points and feedback after they complete the quiz, which make for a more interactive learning experience for your students.
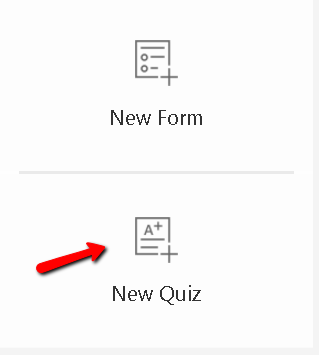
To create a new quiz, select "New Quiz"
Adjusting Quiz and Form Settings
Use form settings to specify deadlines, identify form responders, display correct answers for quizzes, and to set other preferences.
Branching allows you to add branching logic to a survey or quiz so that it changes according to the responses to specific questions. In a survey or quiz that branches, questions appear only if they are relevant to the responder. If the questions don't apply, the responder is redirected to a different set of questions or will skip a set of questions altogether.
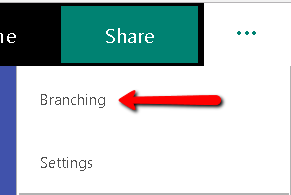
To add branching to your quiz, go to the top right hand corner of the page and click the ellipses button (...), and then select Branching.
On the Branching options page, there are dropdown menus that appear with each answer under every question. Click the arrow to see a dropdown menu. The dropdown menu contains a list of every question that follows.
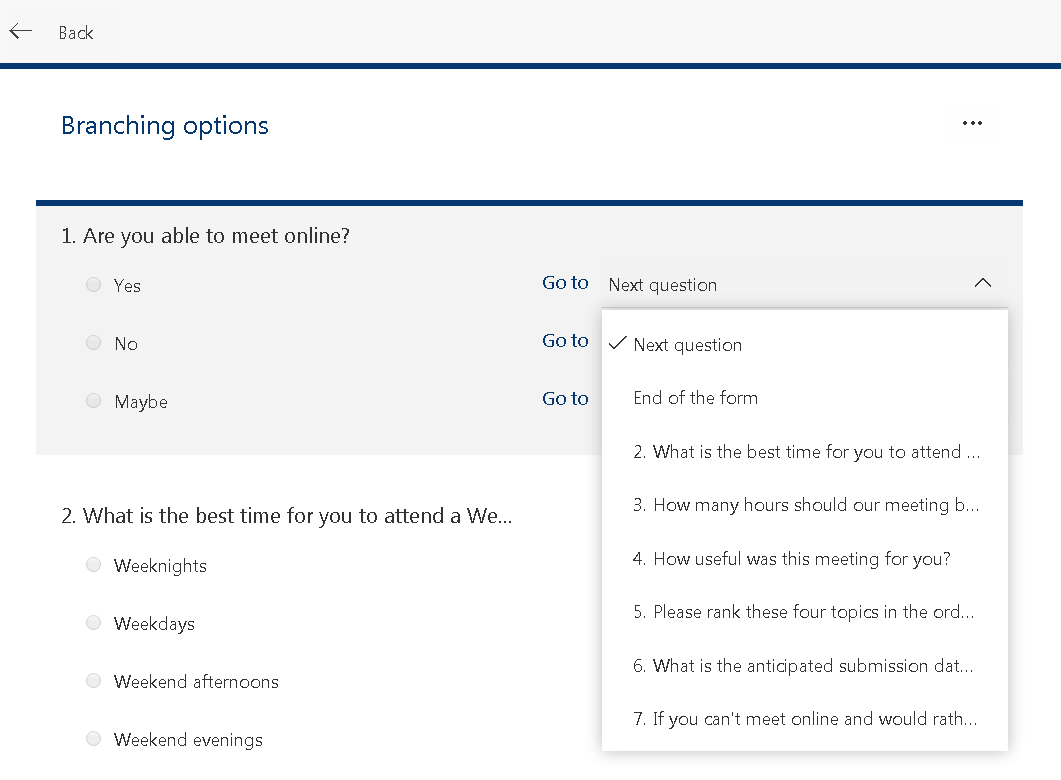
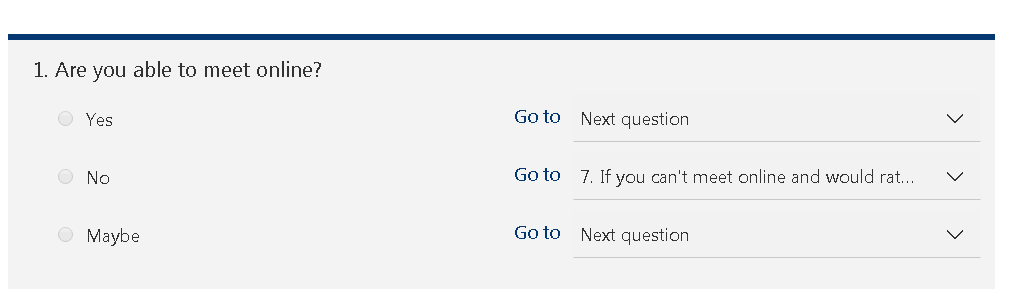
For each possible response to the question, select the question that you want to branch to. In this example, if a responder answers Yes to the first question, you want him or her to go on to the next question (#2). However, if the responder answers No to the first question, you would branch, or skip, to question #7. If you want to completely reset your form and remove branching, click the ellipses button (...), and then select Reset.
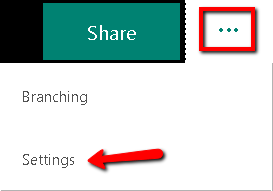
To select other settings, click the ellipses button (...) on the top right of your screen, and then select Settings.
On the settings page, you can select or clear the default settings.
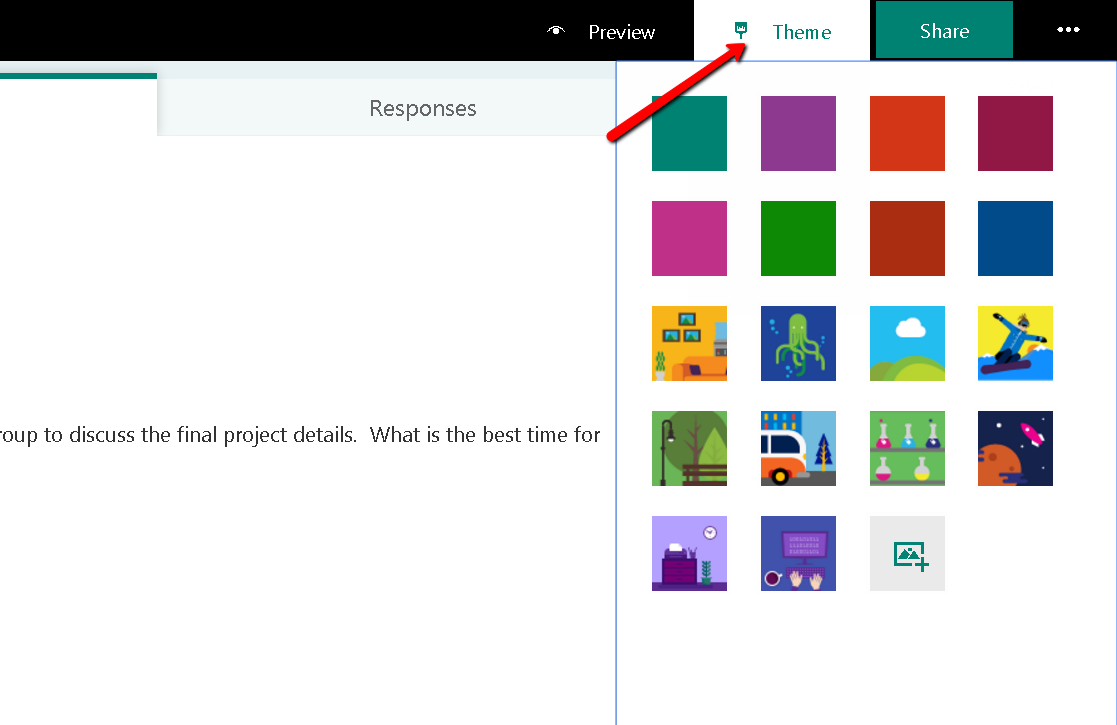
Themes and Preview
Use the Theme button to choose from a variety of colorful designs that you can use to add more personality to your form or quiz. Click Theme at the top right of the design window and pick the color or background you want.
If you would like to use your own background image, click the Upload Image icon.
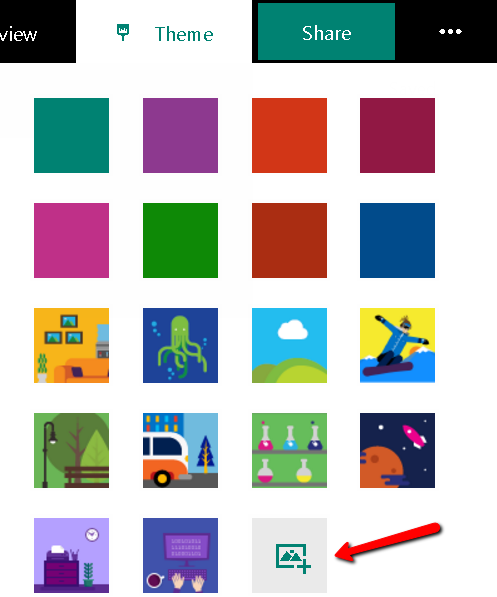
Then select one of the following:
Image Search - Enter your search text in the Bing search box, and then click the Search button to see your search results. Pick the background image you want, and then click Add.
OneDrive - Click the OneDrive folder that contains your image. Select the image, and then click Add.
Upload - Navigate to the folder that contains your image. Select the image you want, and then click Open.
If you want to replace an existing image, click the trash can icon on the current image, and then click the Upload image icon to select a new image.
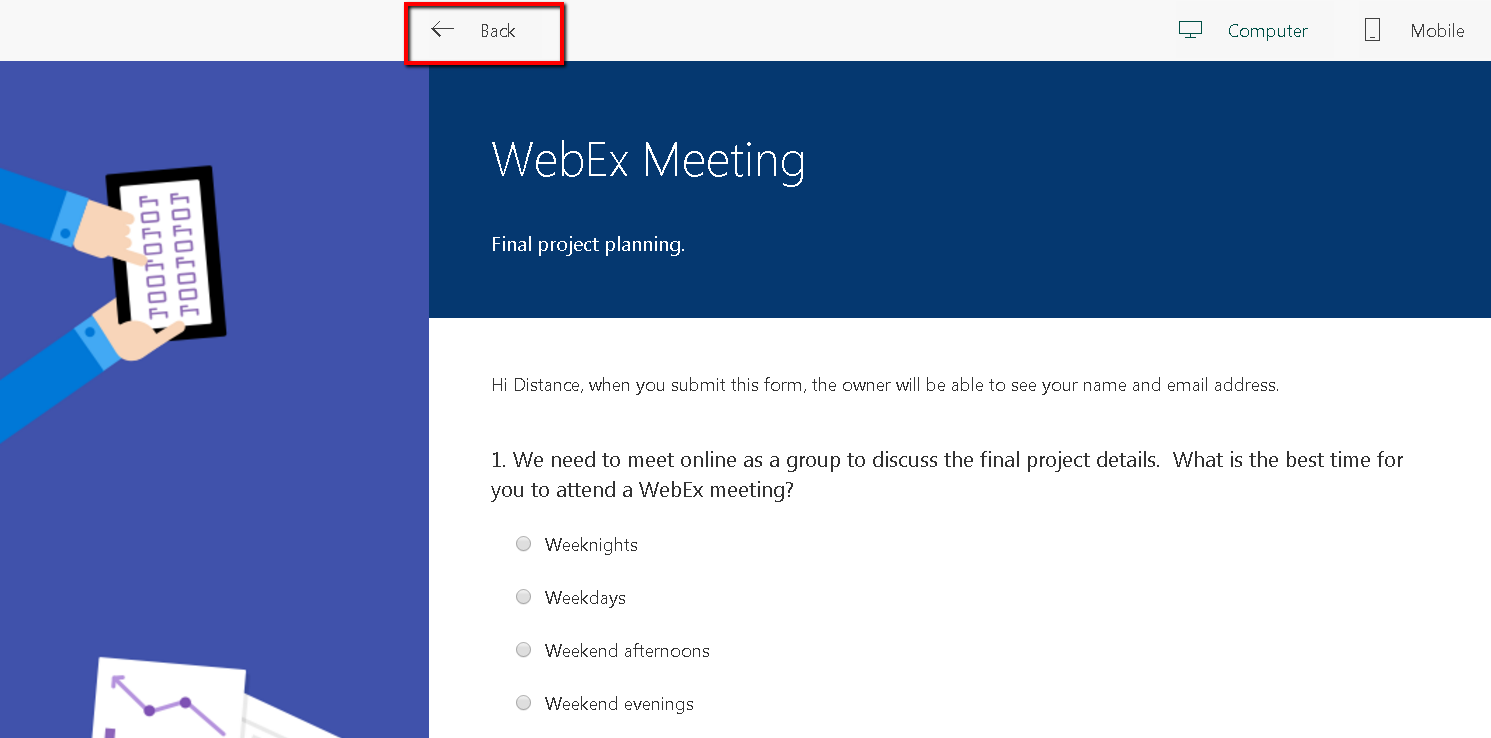
You can see a live view of your form or quiz at any time by clicking the Preview button on the toolbar at the top of the page. This will show you the view that students will get when they access your form or quiz.
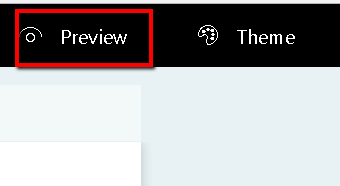
Clicking Back in the top left-hand corner returns you to the question editor.
Sharing Your Form or Quiz
When you are ready to share your form or quiz with others, click the Share button (1) in the top right-hand corner of your screen. This opens a sidebar on the right-hand side of your screen with a variety of sharing options. These options include:
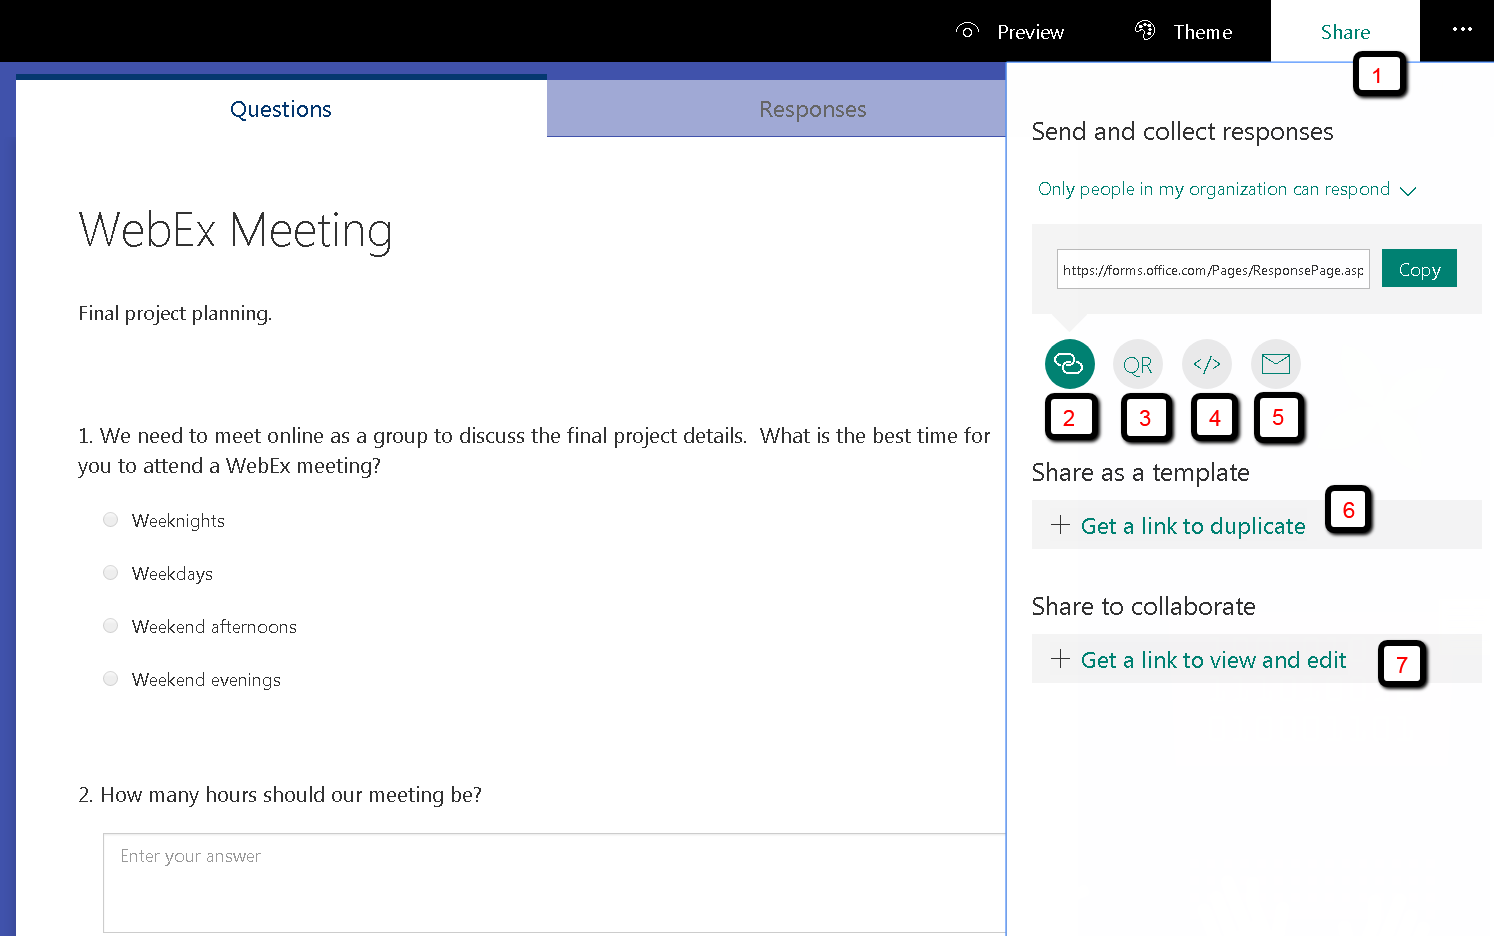
Copy and Paste the Link: (2) This is the link you will want to share with students.Download & Send the QR Code: (3) This option generates a QR code that links to your form or quiz. You can download the QR code as an image and print it or add it to a website or electronic document.
Embed in a Webpage: (4) If you want to put your form or quiz directly on to a webpage, you can use this option to generate the HTML code you need to allow people to fill out the form on your website.
Email the Link:
(5) Click this button to open a new email in your default Mail client (e.g. Outlook) with the link to your form pre-pasted into the compose window ready to send.Make sure that you set the form so that anyone who receives the link or code can acess it by choosing the "Anyone with this link can respond" option without having to log on with an Office 365 account.
Share as a Template (6) lets you easily share a quiz or form as a template so that other teachers and colleagues can duplicate it and use it as their own. When you make a copy of a quiz or form, the copy exists in your profile. When you share a quiz or form as a template, you create a special link which allows others to duplicate the quiz or form in their own profile where they can make changes to it. A duplicated quiz or form created through a template link doesn't contain any response data.
Share to Collaborate (7) lets multiple people collaborate on the structure and layout of quizzes and forms. When you share a quiz or form to collaborate, you create a special link which allows others to view and make changes to the design of a quiz or form you started. All contributors to your quiz or form can also view, edit, and delete responses. Contributors can also share the quiz or form with others by sending them the form collaborate link.
Analyzing Data
The data you receive from students filling out your form or quiz is stored in the Responses tab.
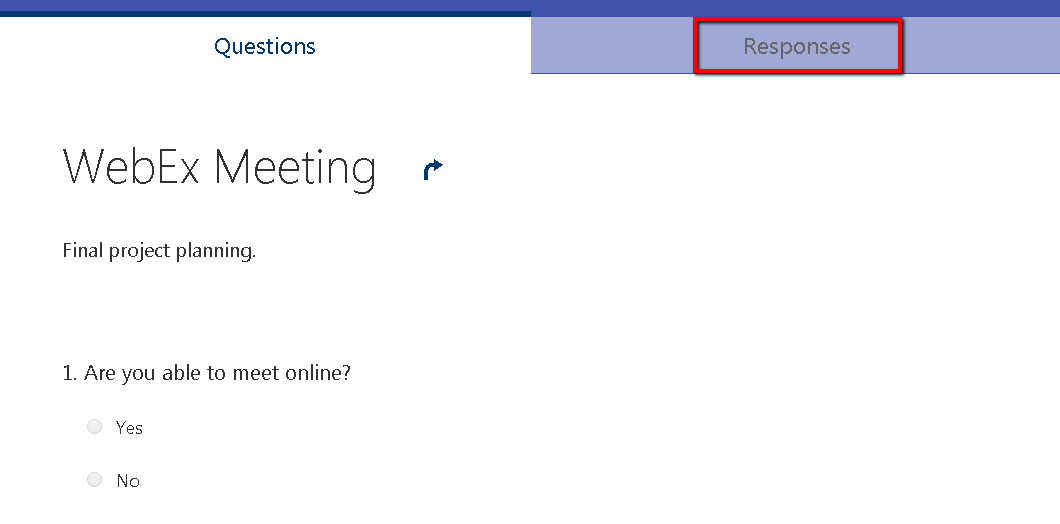
You can view all your results here, or click the Open in Excel button (1) to view the results in the desktop version of Excel. In the Responses tab there is a summary of all the data collected as well as a visual breakdown for each question.
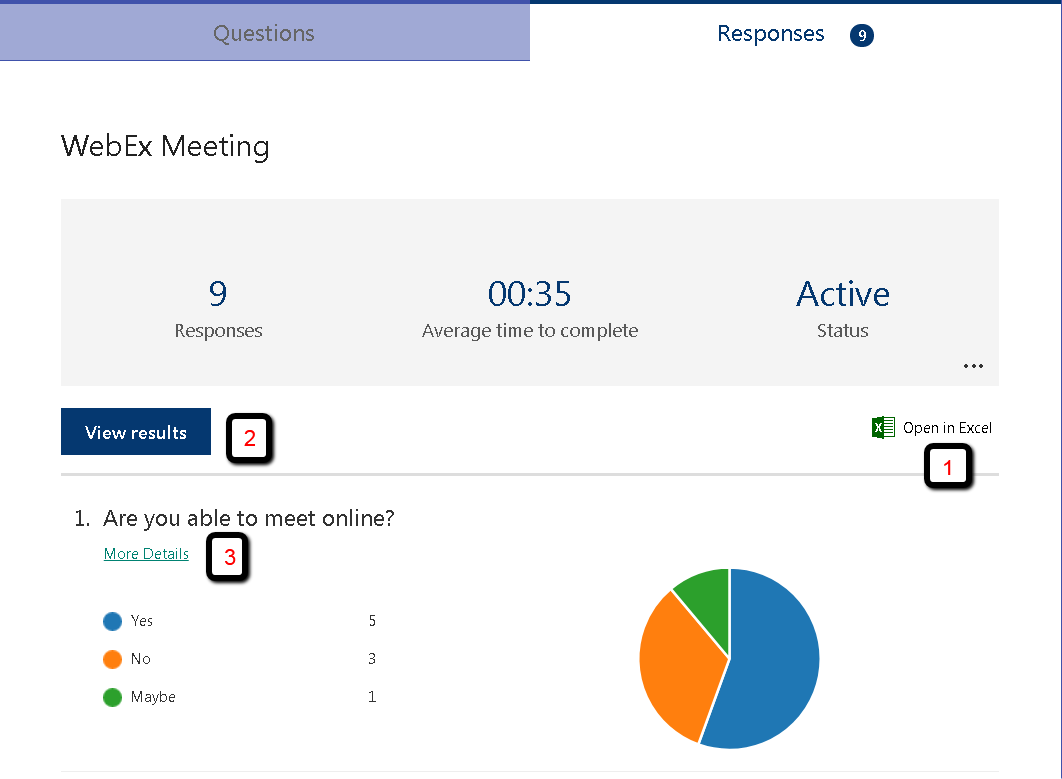
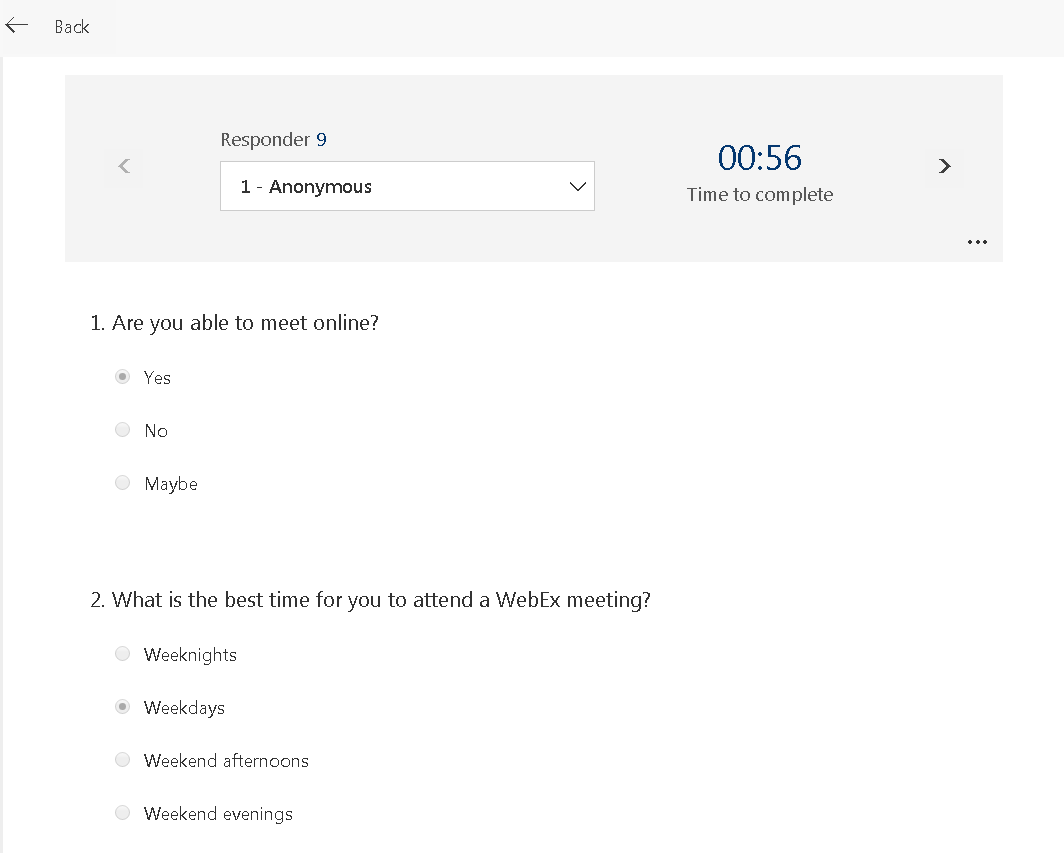
Selecting the View Results option (2) will show the whole survey as answered by each user.
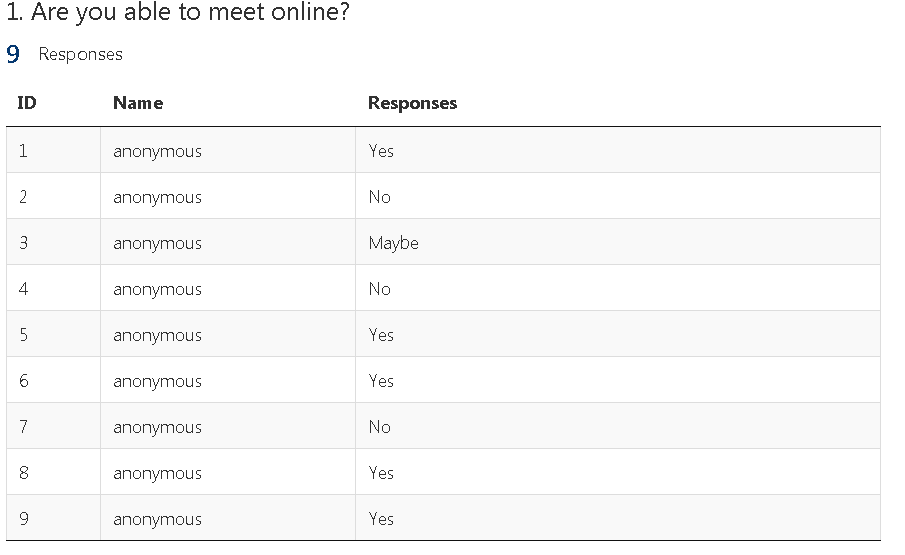
Clicking the More Details link (3) next to each question will show you a more in-depth view of how each individual student answered the question.
Choice Questions